Linux pt 5b: LAMP Stack Setup (90 Days of DevOps)
So far in this blog’s coverage of the Linux portion of the “90 Days of DevOps” challenge:
- We have created a Vagrant virtual machine running Debian Linux,
- We connected to that VM using SSH, and went on a tour of many essential Linux commands.
- We worked with software package management, the Linux filesystem layout, and storage.
- We compared the
nanoandvimcommand-line text editors. - We manually configured the SSH service.
In this post, we will have a look at basic web server setup. The web server will be built using the LAMP stack, that is,
- Linux OS
- Apache web server
- MySQL database
- PHP programming language
The purpose of the LAMP stack is to enable and serve dynamic websites. We’ll set up this stack on the same Linux VM we’ve used throughout the last few posts.
LAMP Setup
(Re)connecting to the Linux VM
If the VM is not currently running, we start it:
1
$ vagrant up
Then we can reconnect to it using:
1
$ vagrant ssh
Installing the Apache web server package
As usual after connecting via SSH, our command prompt changes, letting us know that we are now working on a remote machine rather than our local computer:
1
vagrant@bookworm:~$
On our VM, we use the apt command to install the apache2 package:
1
vagrant@bookworm:~$ sudo apt install apache2
The package and its dependencies get installed.
Starting/enabling the Apache web server
We can both enable the Apache service and start it immediately using the following systemd command:
1
vagrant@bookworm:~$ sudo systemctl enable --now apache2.service
Testing the Apache server using our web browser
The Apache web server should now be up and running on our VM. Using our local / host computer, we open any web browser and browse to our VM’s bridged IP address, which was established in the previous blog post.
The Apache server responds to our browser’s request with a page similar to this:
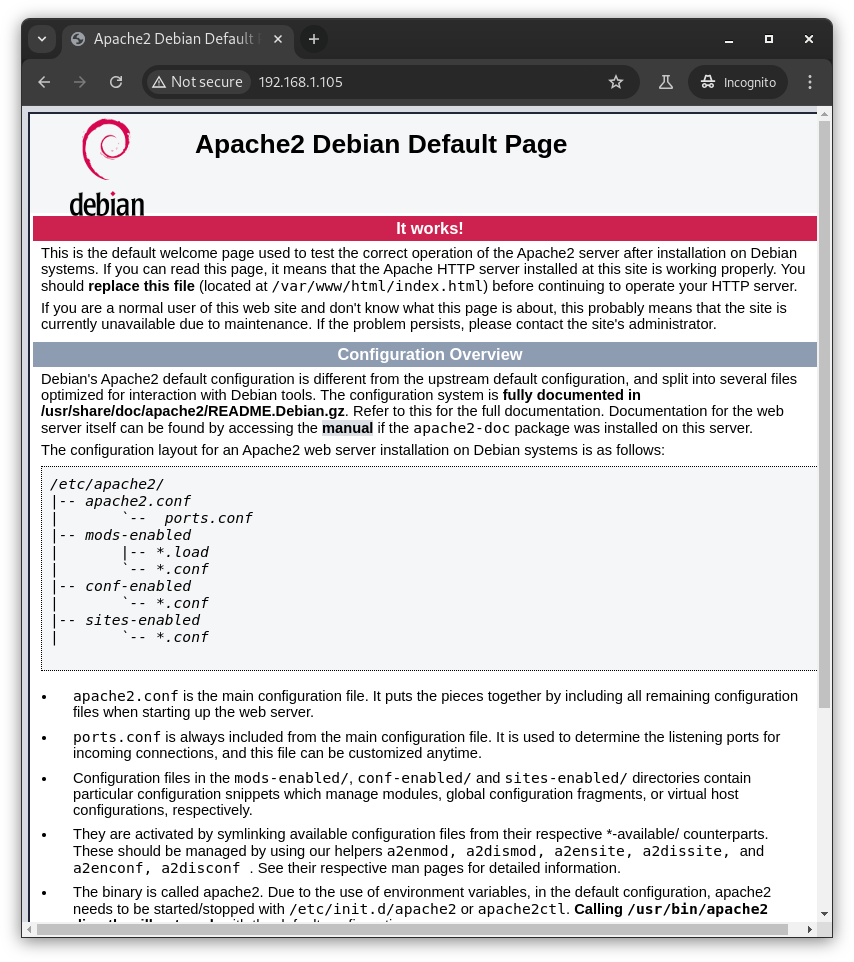
The page confirms for us that Apache is working.
Installing MySQL (MariaDB)
With the Apache server ready, we move on to installing our database.
The Debian distribution of Linux opts for a fork of MySQL called MariaDB, so that is what we install here:
1
vagrant@bookworm:~$ sudo apt install mariadb-server
The db server and its many dependencies get installed.
Automated security hardening of MySQL (MariaDB)
Although it’s optional, now is a good time to run an automated security hardening script that is commonly used after new MySQL / MariaDB installations.
1
vagrant@bookworm:~$ sudo mysql_secure_installation
The script asks a number of configuration questions and modifies the db accordingly.
Installing PHP
So far Linux, Apache, and MySQL (MariaDB) are installed on our VM. Next we install the PHP scripting language:
1
vagrant@bookworm:~$ sudo apt install php libapache2-mod-php php-mysql
PHP and its dependencies get installed.
Creating a PHP Test Page
We now use our choice of text editor to create a test page on our VM, inside the Apache web root directory:
1
vagrant@bookworm:~$ sudo nano /var/www/html/index.php
We save the following simple PHP snippet into this file:
1
2
3
<?php
phpinfo();
The code above calls the phpinfo() function. This function helps us to verify that PHP is working within Apache, by dynamically serving a webpage full of current PHP debug and versioning info.
We should be able to access our new test page by opening a local web browser to (http://<VM IP address>/index.php) .
If the test page loads OK and lists the current PHP version, then the PHP installation worked fine.
Installing WordPress
At this point, we have a working LAMP stack installed on our VM. All that is left is to make an actual website.
For that, we could use another tool: Wordpress, a widely-used content management system. Wordpress isn’t part of the LAMP stack, but it can be used as a shortcut to generate a website rather than writing it from scratch in html, css, javascript, and php.
To install Wordpress on our VM, we run:
1
vagrant@bookworm:~$ sudo apt install wordpress curl
Creating a Wordpress site
Now that WordPress is installed, we could use it to create a dynamic website in the form of a Wordpress site. Detailed instructions for Wordpress on Debian Linux are available on the Debian website.
Alternatively, on our VM, the installed Wordpress package comes with Debian-specific documentation in the /usr/share/doc/wordpress directory.
If set up correctly, a Wordpress console should be reachable via local web browser at our VM’s IP address. That console can be used to configure a dynamic website to run on our new LAMP stack.
See you in the next post!
<< Back to 90 Days of DevOps posts
<<< Back to all posts